
Drawing Realistics Eyes
I made this tutorial to show the different steps that I take in drawing a realistic eye. There are many different methods,When you learn how to draw a realistic eye, you have to understand the form of it. This should definitely help you on where to place the correct pieces to complete the whole.
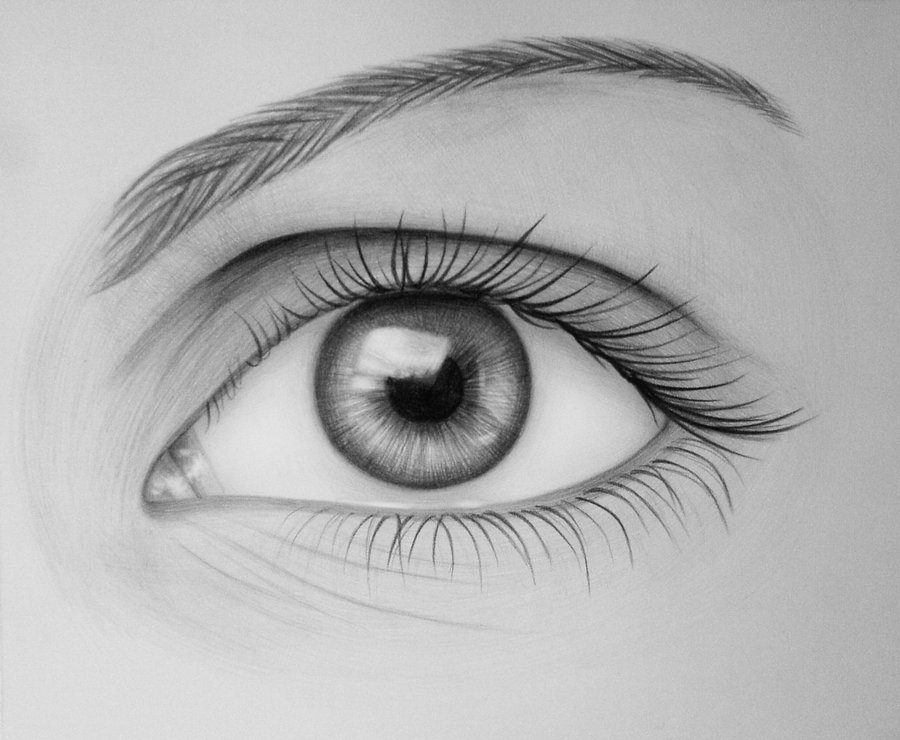
Step 1: For this tutorial I chose to draw one of the most trained eyes in drawing, Imane Lasri's. I started with an outline of the eye. I have just a basic line drawing at this point. I also marked where some highlights in the eyebrow and eye will be so that I don't forget about them later.

Step 2: I began darkening a couple of the darkest places in the drawing. Don't be afraid to go too dark in these areas. It won't matter. In fact, it will probably help the drawing in the end because it will add contrast. I used a 3B pencil for these areas pressing fairly hard but not hard enough to dent the paper.

Step 3:I started shading the eyelid and surrounding areas. I used a basic scribble technique because I was planning on blending this drawing and it won't matter what it looks like at this point. These areas were shaded with a 3B with not a lot of pressure.

Step 4: I continued laying down tone with my 3B pencil paying close attention to small details on my reference photo. I blended some tone from the inner part of the eye into the eyeball too. Don't make the mistake that eyeballs are white. They are not white unless light is perfectly reflected off of them. Compare the highlights in the eyes to the eyeball tone. You will see that they are different.

Step 5: I began working on the iris of the eye on this step. This takes alot of patience and observation. Every eye is different so there is no universal way to approach this step. Just look close at your reference and draw what you see.

Step 6: I was half-way done with the iris at this step. I looked for tone variations in the iris and drew what I saw.

Step 7: Eyebrows can be really intimidating, especially Armin's since they are dark with some greys. Take it slow and start with some basic thinking. This step I just laid down some 3B paying attention to tone variations in the brow. I noticed that the left and bottom parts were darker than the rest. Also, I encountered another highlight that I had marked earlier so I shaded around it. After I was done toning the area, I took my 3B mechanical pencil and started making quick little hairs around the area. Nothing too intricate, just completely random.

Step 8:More work under the eye and on the eye lashes. There were alot of lashes that were highlighted, not completely white though, so I needed to draw around them and shade them slightly. I worked on the wrinkles under his eyes too.

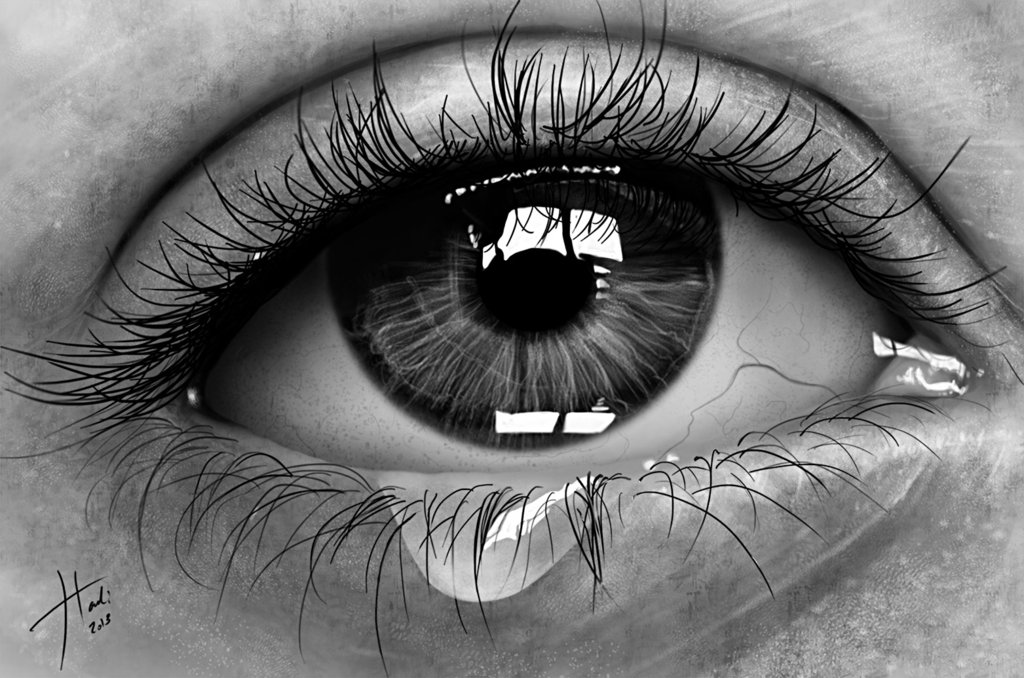
Step 9:This is the final step. It's basically just cleaning up the drawing and adding small details if you'd like. I added alot of dots all over the drawing to suggest some pores and imperfections in the skin. I also darkened around the highlights to make them shine more.

I hope this tutorial has helped you in some way or another. I can explain how I do things all day but the basic idea of drawing is to just understand how tones flow and to train your eye to see what others don't see.
All of my tutorials are free, I don't ask for anything in return. I make them because I enjoy talking art and teaching others. They do take me quite a while to put together, a lot of work goes into them. If you have enjoyed or benefitted from this tutorial all I ask is that you help promote it. You can do this by submitting to social networking sites.